Cashmere Winter Coat
I had no intention to make myself a new winter coat, but sometimes serendipity happens in the form of finding gorgeous cashmere fabric at a sale for $6. per yard. This fabric treasure was unearthed from a pile of junky fabrics on an unmarked bolt at a clearance sale. I recognised it, because I made a jacket out of the same fabric in a different colour last year. That fabric cost something like $25. per yard on sale. So, of course I had to buy it; the deal was too much to pass up. And who in their right mind could let that fabric just sit there in their fabric stash?
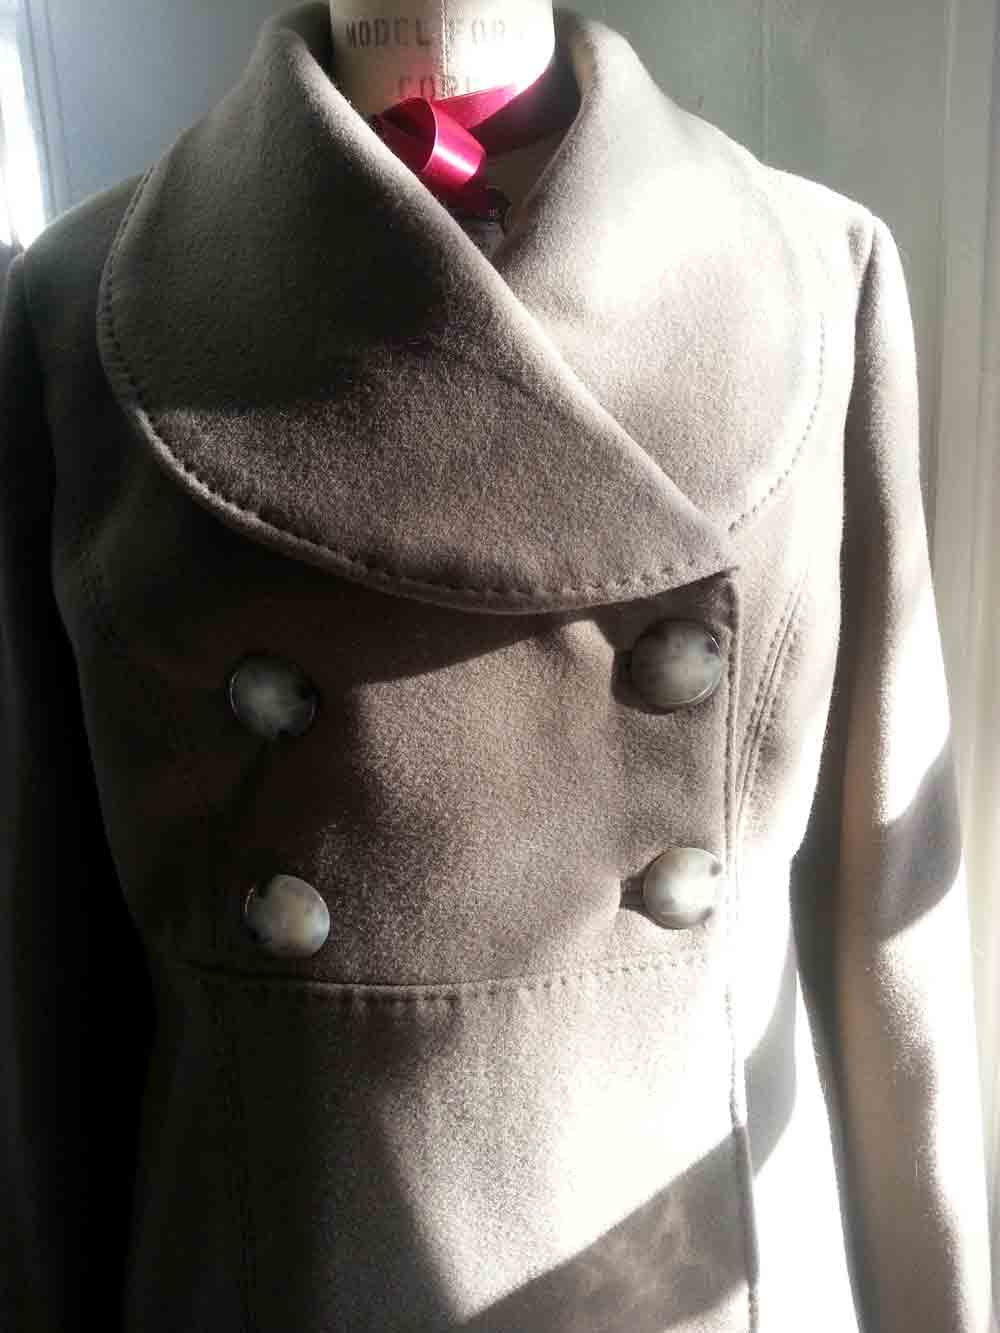
Being a personal project, I decided to go the lazy route and use a commercial pattern. I chose Butterick #B5685, a double breasted knee length a-line style. Pretty classic, with a minimal amount of modification (I just changed the shape of the collar). And of course I scrapped the pattern instructions and their interfacing suggestions, and used classic tailoring techniques. I worked on this project in bits and pieces over the last two months.
 My laziness and lack of “free time” always makes me fight with myself over getting something done quickly v. doing something correctly that will make a lasting and beautiful garment in the long run. If you are going to spend time making something substantial like a winter coat, it is worth the extra time to add in a few extras that will make the coat hang well, and last longer.
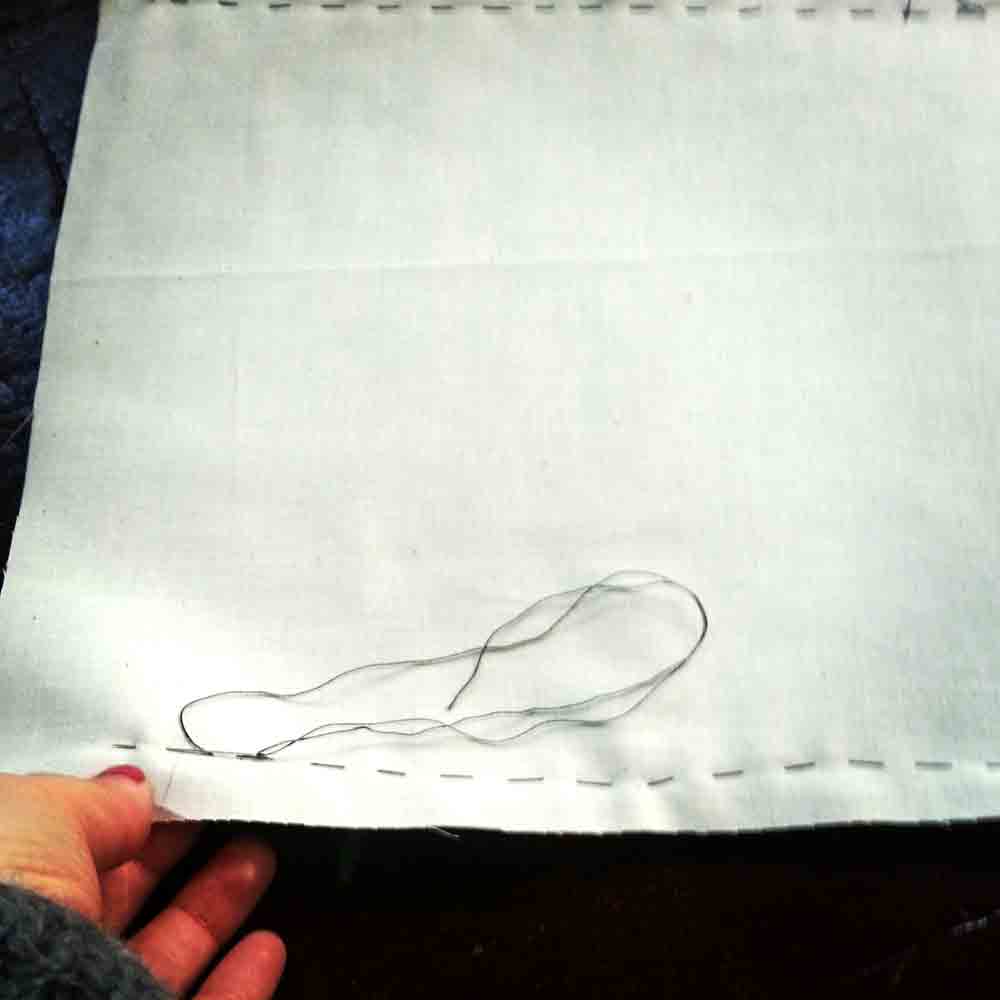
The first choice was to forgo the fusible interfacing that the pattern called for, and go with sewn in underlinings. I used unbleached cotton muslin for the body and sleeves of the coat, silk organza and horsehair canvas for the collar and facings. And even though I don’t love making them: bound button holes. Why underline? It gives substance and warmth to the coat, and helps it to hang better.
This of course takes a LOT of hand stitching inside of the coat that no one ever sees.
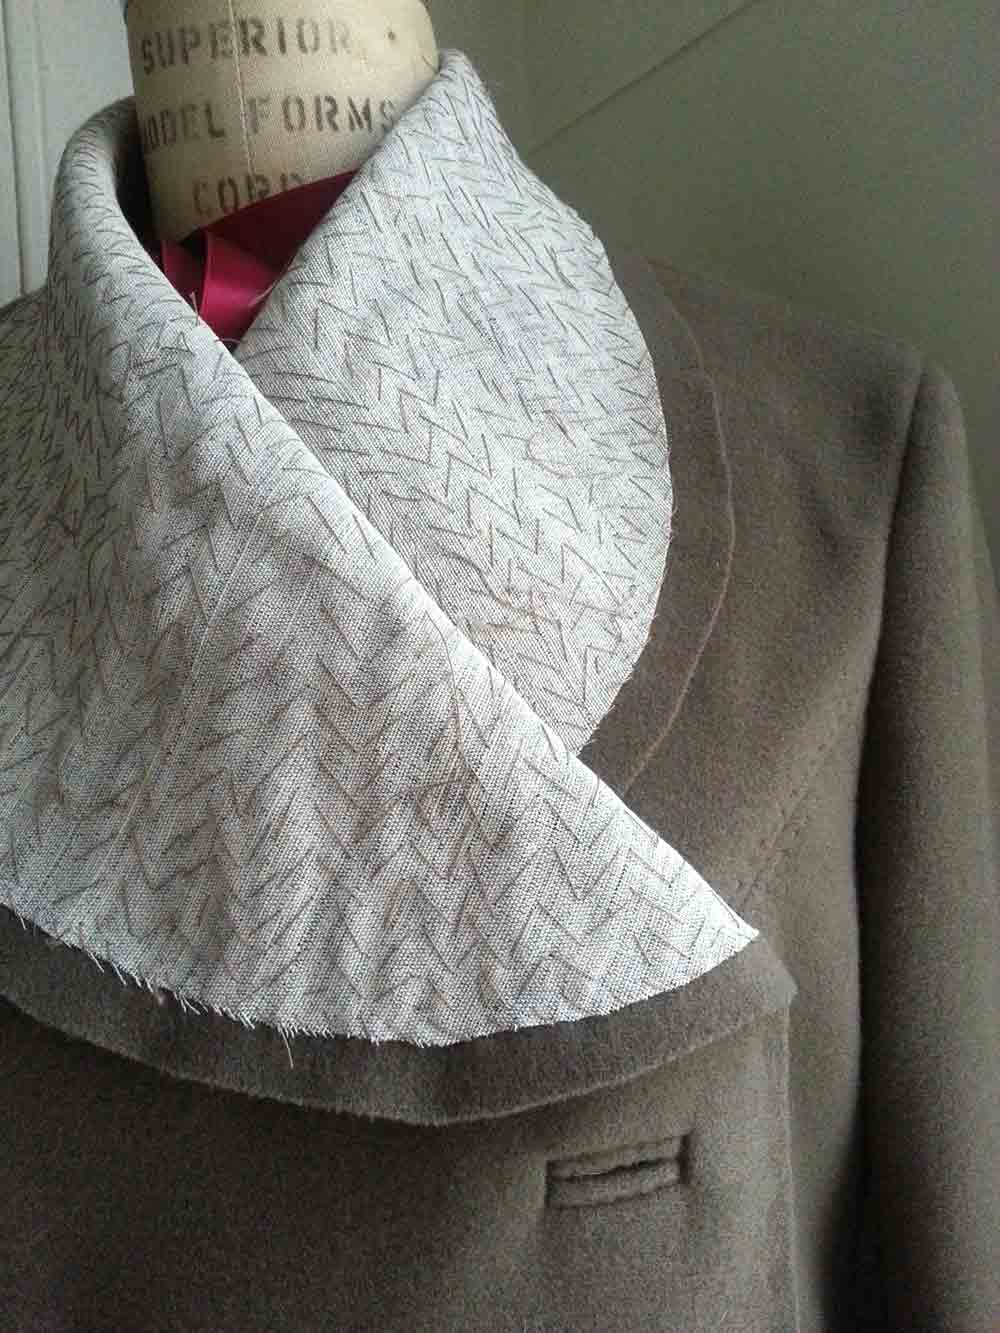
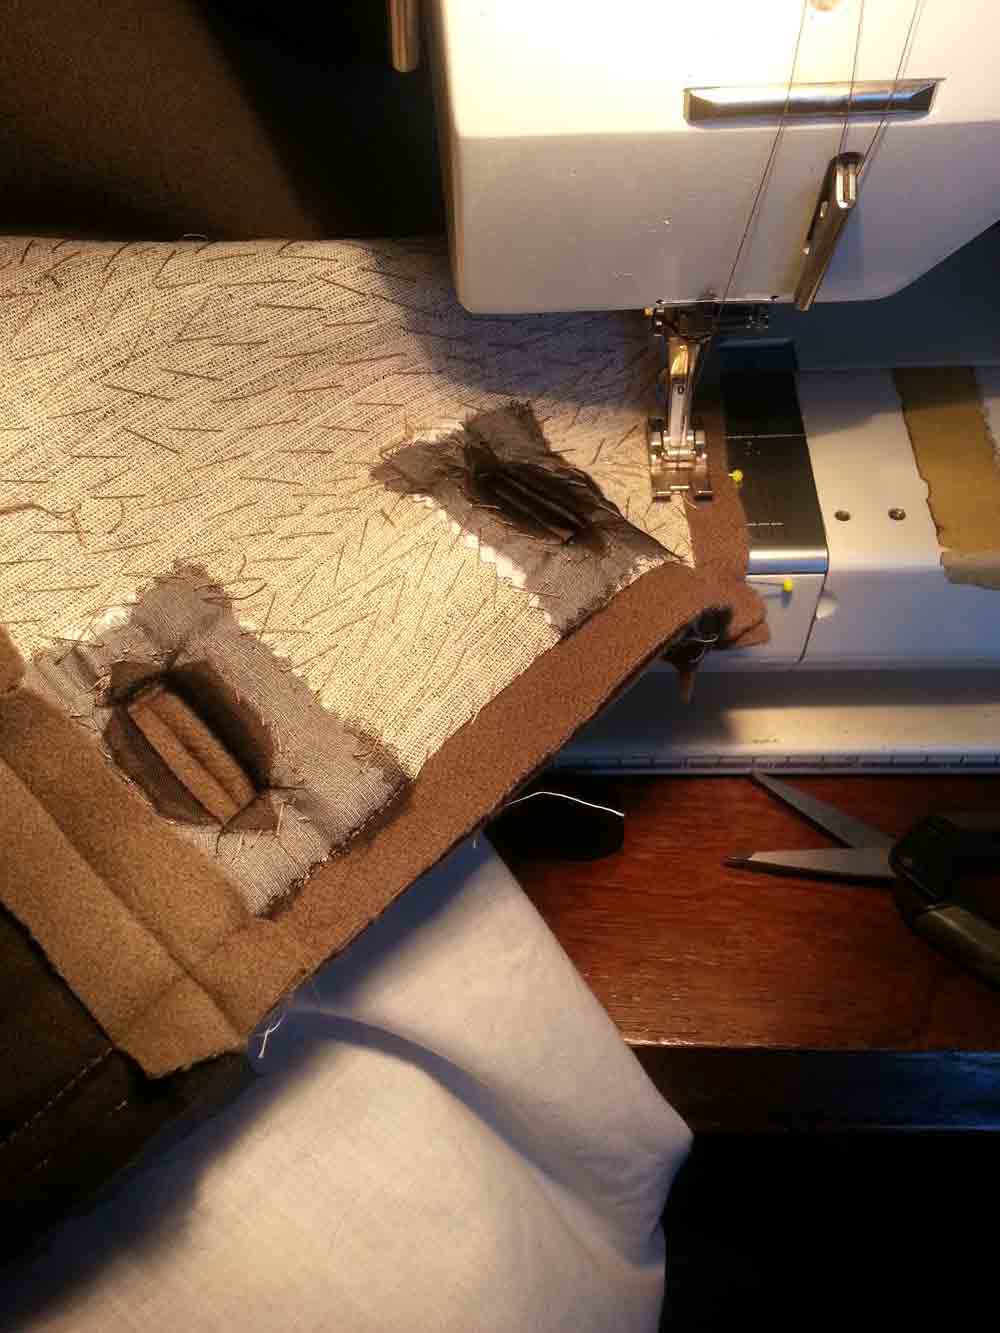
Here is what a pad stitched collar looks like. This is a process of steaming and rolling the collar into a soft fold. The stitches hold the collar’s shape smoothly through the curves of the collar around the neckline. Also pictured: a bound button hole. Bound button holes are a pesky affair, but don’t they look beautiful?
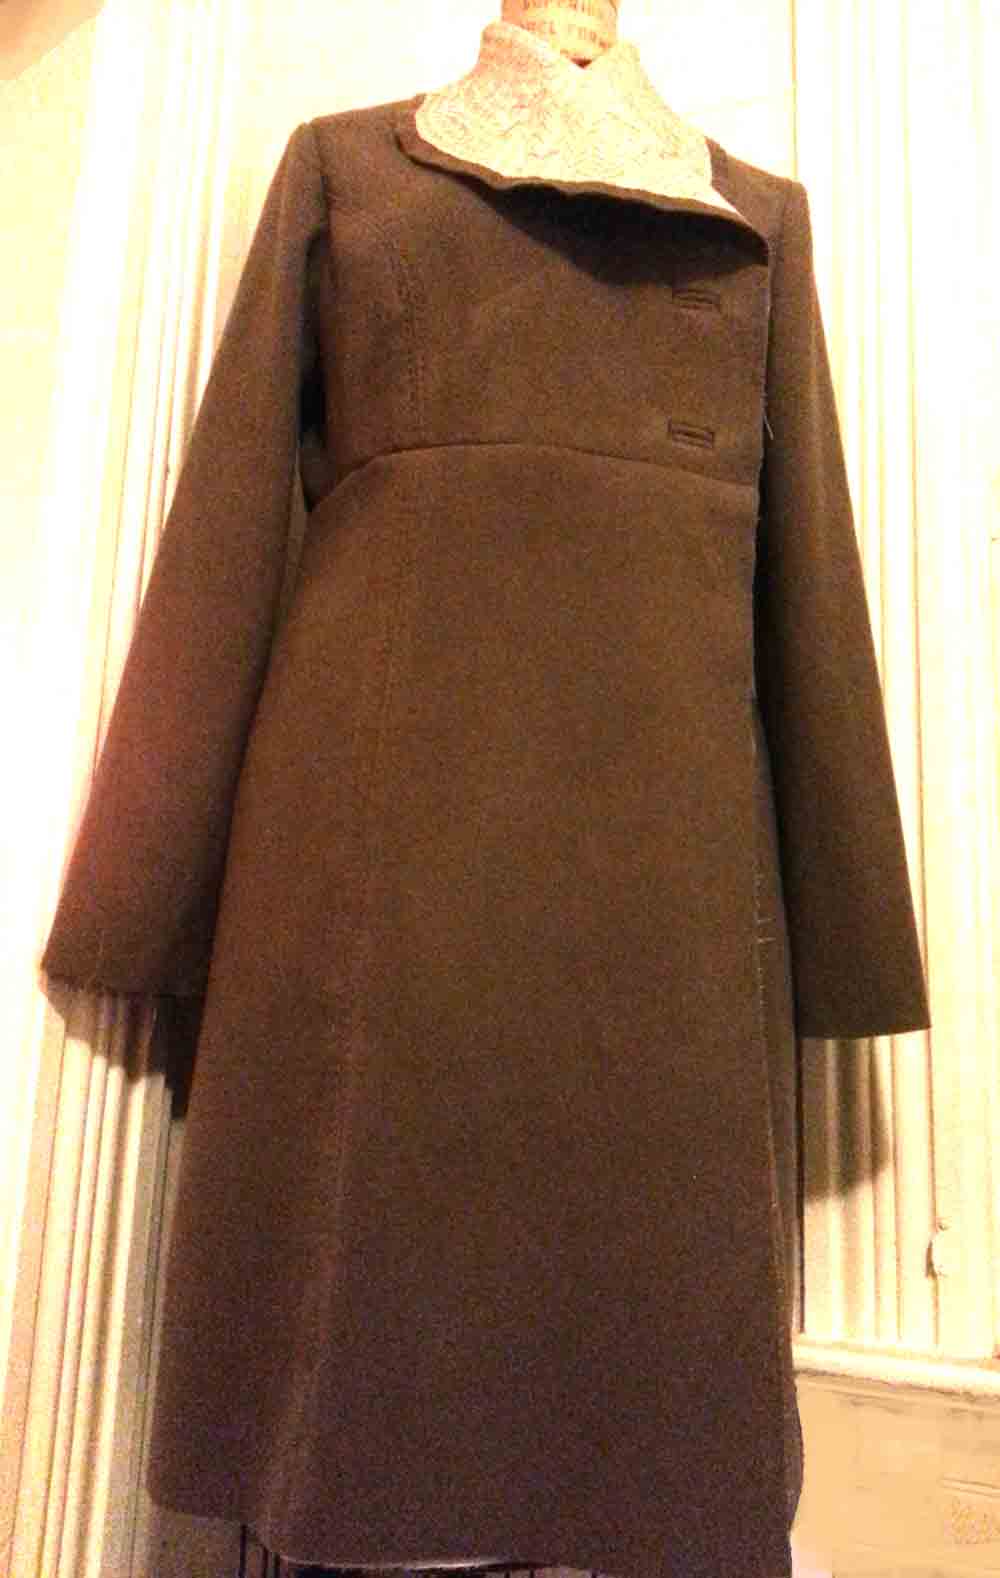
The coat all pieced together before the finishing.
Sewing the facing into the coat. Here you can see the backs of the bound buttonholes.
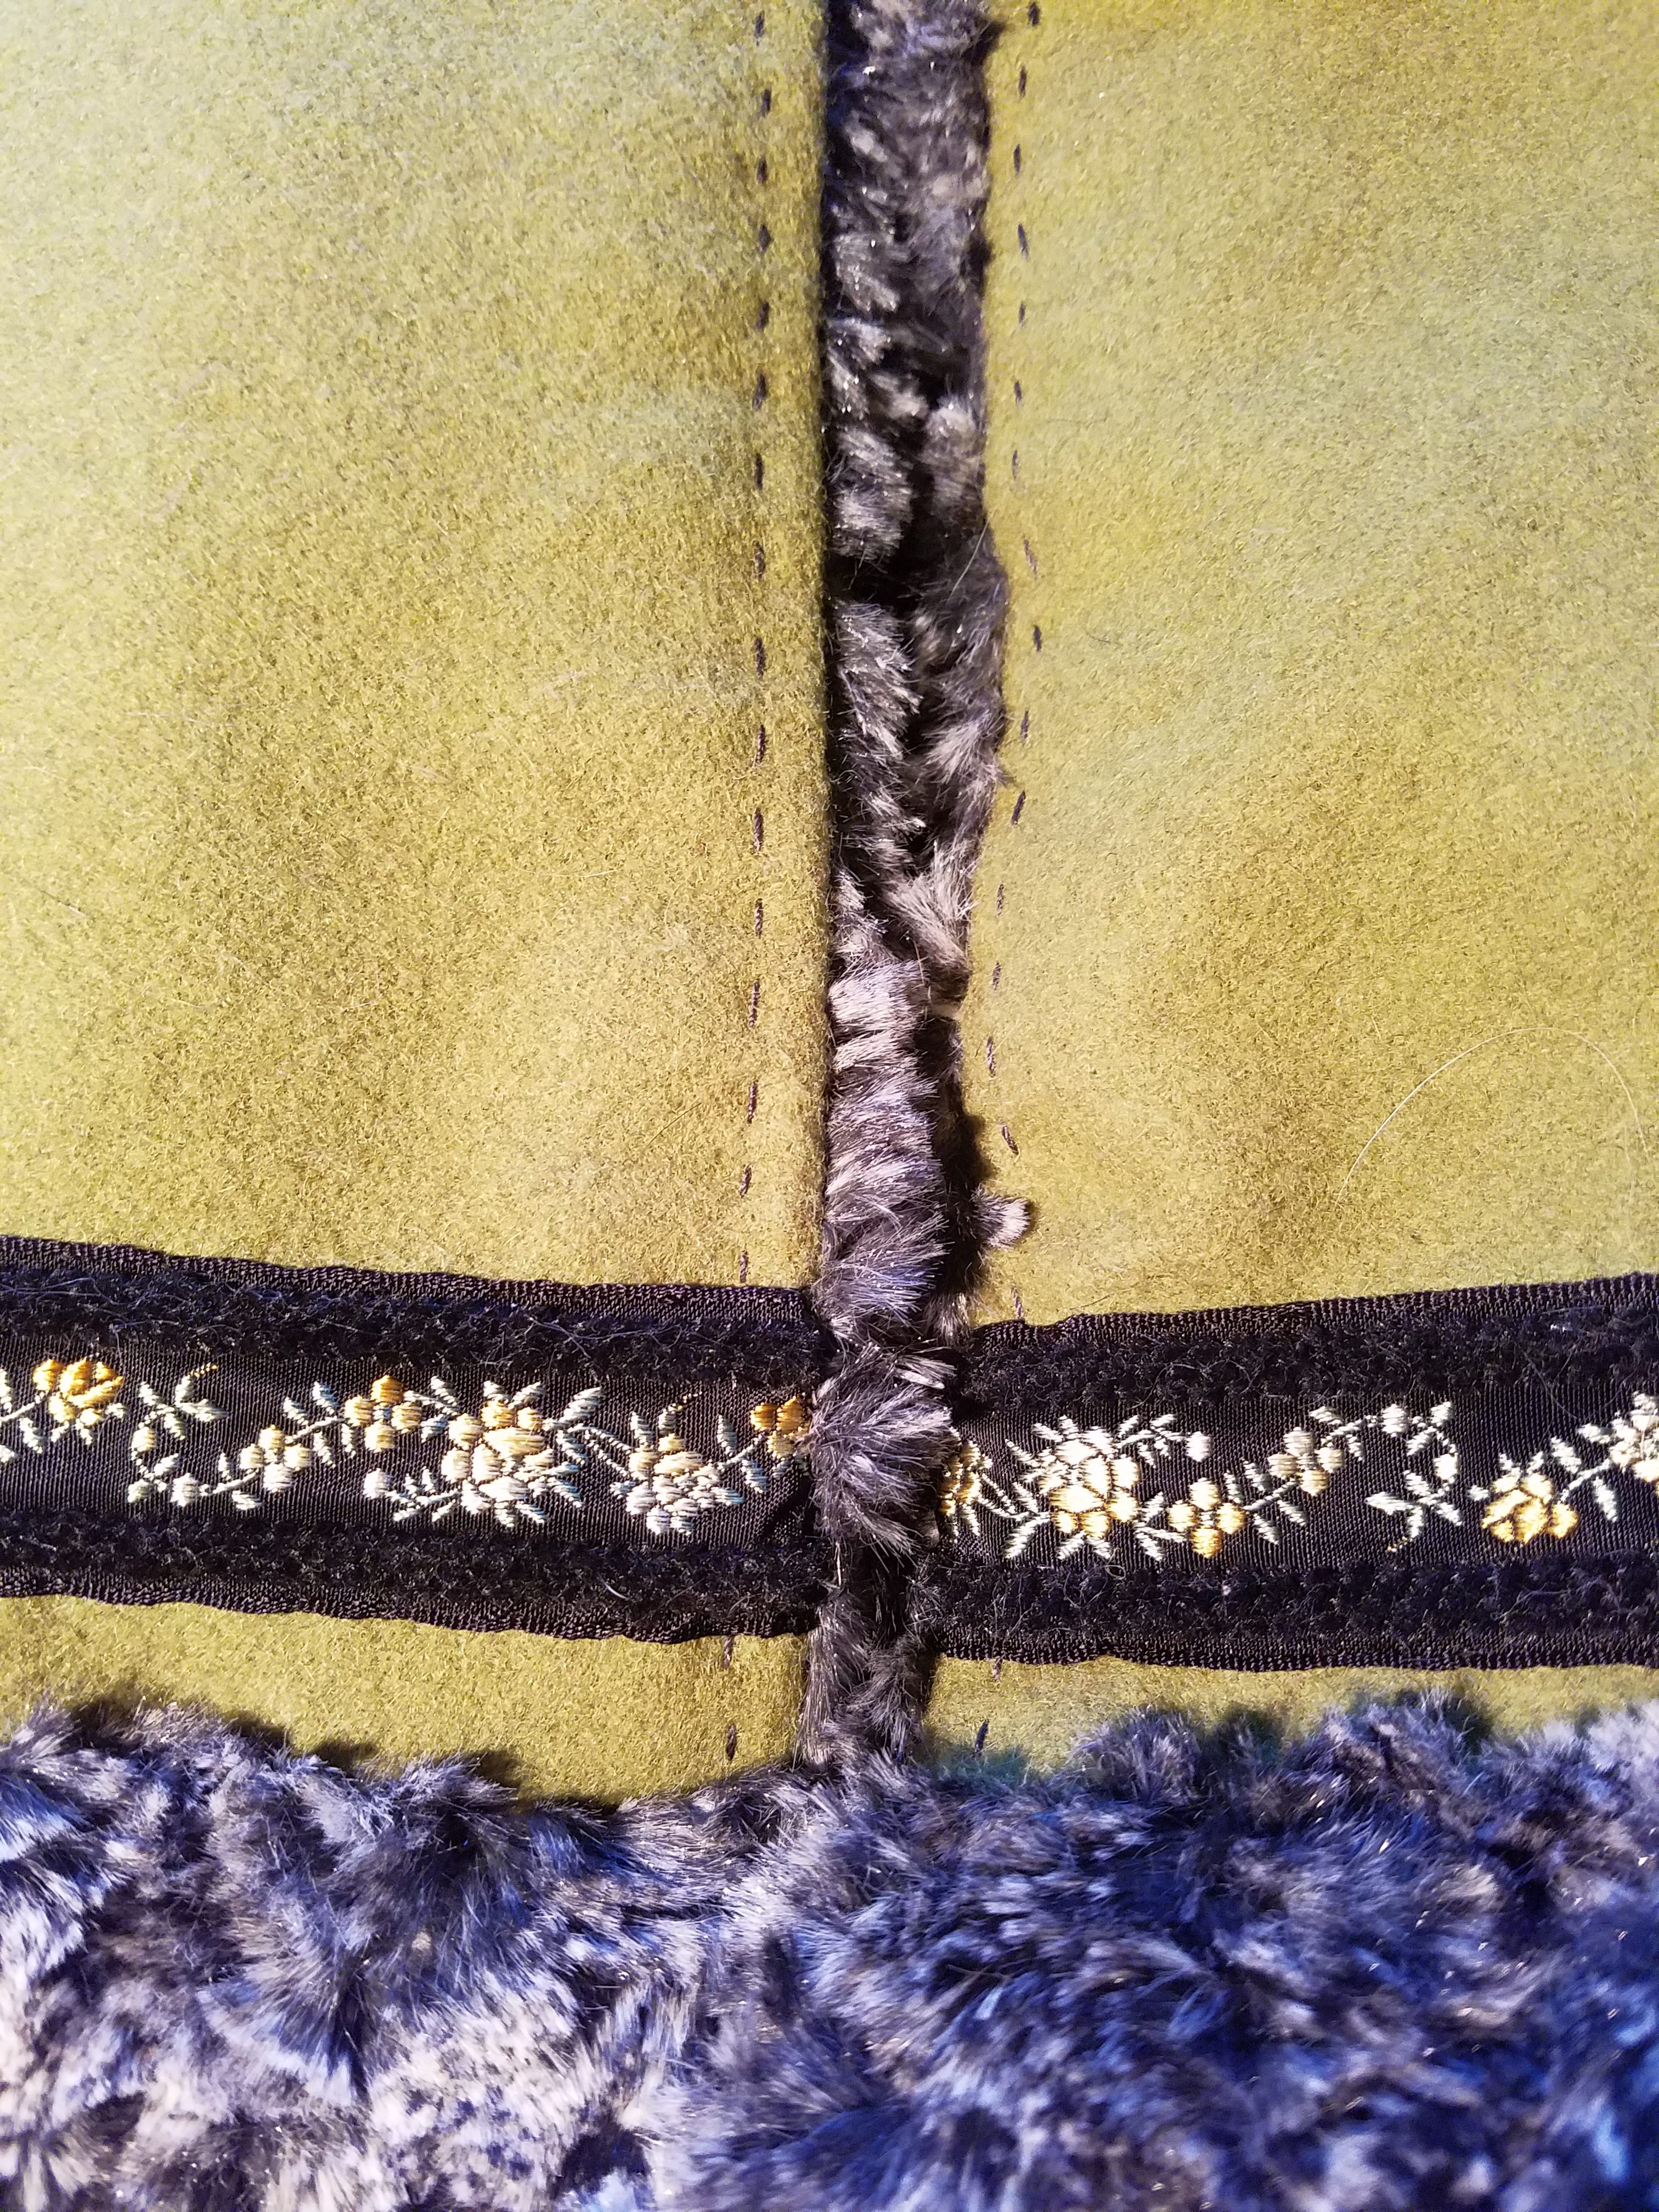
Another thing I fretted over was hand topstitching all the seams with silk thread. In the end I knew I wouldn’t be satisfied if I didn’t do it. And yes, it took forever.
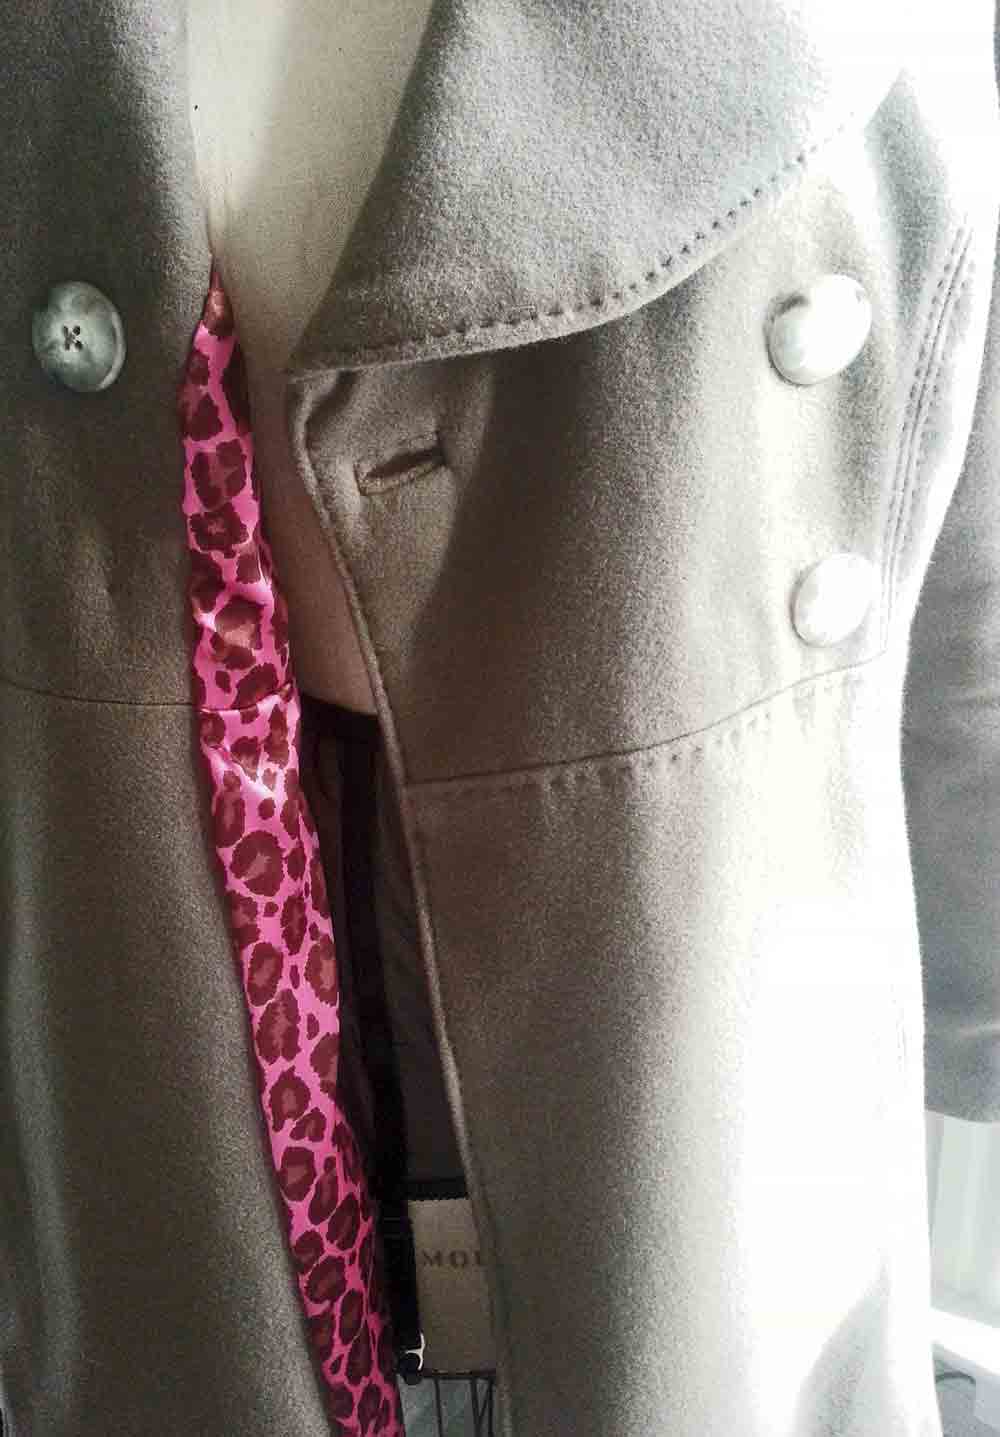
Could I have found a more fun lining fabric? Bright pink leopard print satin! I hand sewed the lining in so that it can be relatively easily replaced when it wears out. I hope that it will be a long time before I have to re-line this coat, and that the next lining is just as fantastic.
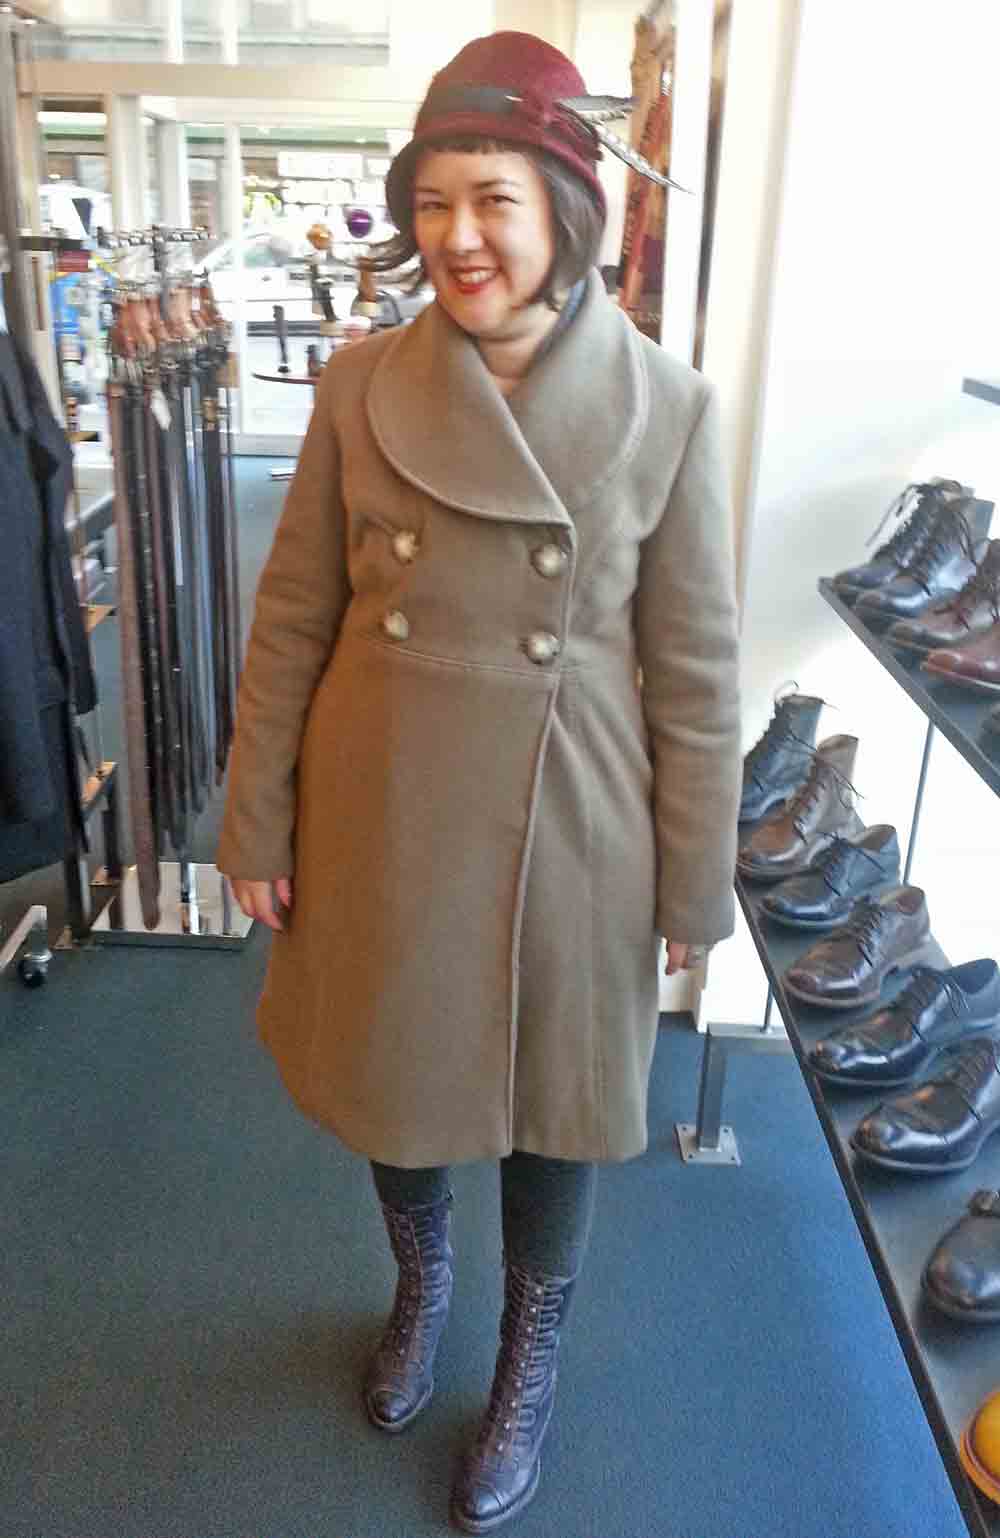
Fin.
The Supply List:
- cashmere coating: $18.
- hot pink leopard print lining: $3.
- cotton muslin underlining: $18.
- horse hair canvas: $12.
- silk organza facing: $8.
- thread (both poly sewing and silk finishing) $15.
- pattern $8.
- buttons (4 outer, 1 inner) $10
One Comment
Mia
Very nice! I am just planning a wool coat myself: your details and construction inspire me to do the same! Beautiful work!